| Fitting - Example ProjectsEXAMPLE - BRICK TILESSlimbricks ™ can be easily installed with only basic tilling skills. Below we will give you a quick guide to get you started, if you need any further advice do not hesitate to Contact Us. The Project below will talk you through the steps of creating a feature wall, we have incorporated a mock chimney opening into the design, the same technique could be used to create a bricked up window or door for example. Feature wall - Step 1 - Gather together your tools and materials. Flat tiles, corner tiles, adhesive, mortar, spacers, mixing and pointing tools plus any other cutting tools etc. 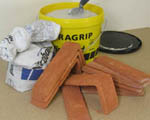 Feature wall - Step 2 - Mark out and start fixing. Use our Spacers to evenly space the bricks. After marking out level lines on the blank wall, plus any features you may want, begin tiling from the centre. With brick tiles it is often easier to apply the adhesive to the back of the tile. 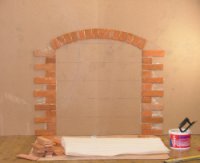 Feature wall - Step 3 - Continue tiling, checking levels as you go along. In this project, purposefully broken and irregular tiles are included to give an authentic old look. 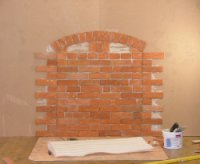 Feature wall - Step 4 - Try different brick bonds. As the tiling progresses, you may be able to see in this layout, the use of half tiles to give the impression of a "Flemmish Bond", a style of brick laying often seen in older properties. 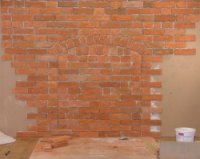 Feature wall - Step 5 - Start pointing. Once all the tiling is complete, the pointing process can begin. Ensure that the mortar mix is not too wet and let it stiffen before removing any excess from the brickwork. This will help prevent the excess mortar being smudged onto the face of the tile. Unlike ceramic tiling, it is important that you avoid smearing the mortar on the brick face. If you do get some mortar on the brick face and it won't brush off try using an acid-based brick cleaner, available from DIY stores. 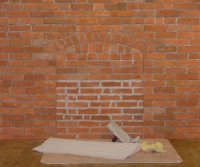 Feature wall - Step 6 - Clean Up! When all the pointing is completed, brush the whole wall to remove any loose residue.This DIY project took just over a day to complete. 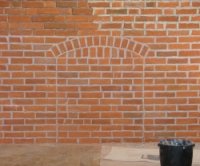
|
| |||||||||||||||||||||||||||||||||||||||||||||


